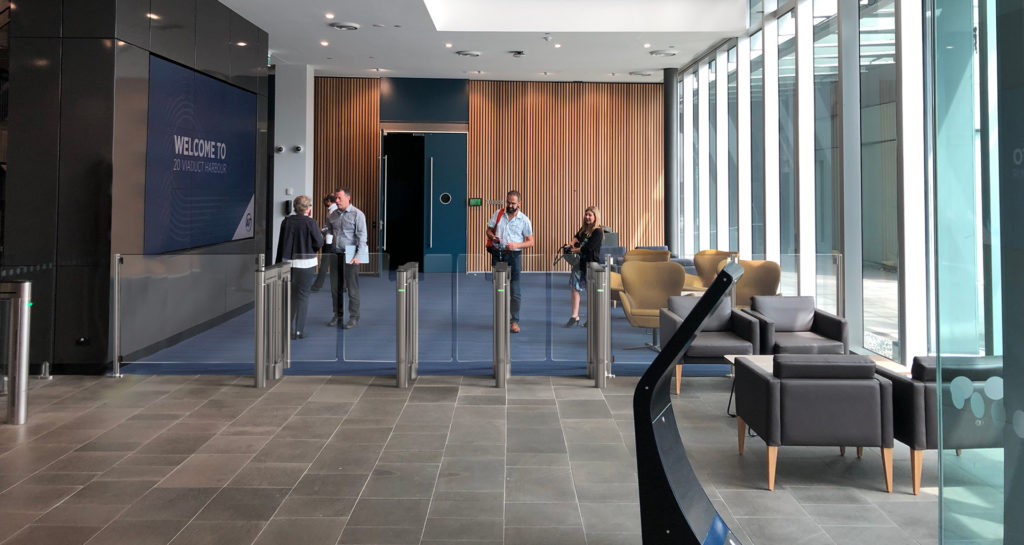
Installation Render Requests
This page is for Alvarado Sales Team Members only. If you would like to submit a render request, please contact the Alvarado Sales Team.
Please fill out the form below to submit a render request form. Examples of appropriate images, mark-up images and completed renders can be found below. Please refer to these examples if you are unsure as to whether your images are usable. If you have additional questions please direct them to Alvarado’s Multimedia Specialist.

The minimum return time for render requests is one week, but may be longer depending on the complexity of the request or the current size of the request queue. Rush-jobs are possible, but only in emergency situations. Please allow yourself enough time for processing.
What To Do
Background Images
Click the above background images to see examples of what you should provide. Some things to note:
- Each image is taken far enough from the installation area to provide enough floor space to fit the entire product configuration within the image.
- In each image the installation area is free of obstructive objects, floor mats, people, furniture, etc.
- Each image is high-res (at least 1920 pixels wide) and appears clear and without any blur or noise.
- We understand that many photos are provided by your prospective customers and may not follow all of this criteria, but it is important to discuss these guidelines with your client when requesting photos. If they know what we need before they take the photo, the result will be a faster turnaround time, a better looking render and hopefully a sale!
Mark-Up Images
Click the above mark-up images to see examples of what you should provide. Some things to note:
- Each image depicts lines that are relatively straight and are displayed in a color that is clearly visible. The color of the lines is not important; only their visibility.
- Each image depicts a single line from wall-to-wall to indicate where the center of the cabinets will sit. This line should directly relate to the dimension you provide in the form.
- Each image depicts additional intersecting lines to show approximately where the cabinet should sit. This allows us to know the left and right alignment of the installation.
- Some images contain additional information, like the placement of the accompanying gate, or an extra line depicting a point that the turnstile cabinets should not cross. Other things to include would be additional dimensions or the direction of foot traffic.
- If you are unsure how to create a mark-up image, the easiest way is to use Microsoft Photo or Microsoft Paint; both come standard on your Alvarado laptops. You can also use your company iPhone to edit images directly from the photos library.
- Feel free to add any additional information to the markup image that you think might be important. Usually providing more information leads to a faster turnaround time, a better looking render and hopefully a sale!
What NOT To Do
Background Images
Click the above background images to see examples of what you should avoid. Some things to note:
- The first image is taken too close to the installation area, resulting in a cropped footprint. It is important that the entire product fits within the image.
- The second image has an existing installation that takes up most of the photo. Overly busy photos can also be problematic.
- The third image is a low-res photo that looks blurry and pixelated.
- Requests to remove an existing installation/feature from a photo can usually be accommodated. A good rule of thumb is the the 1/3 rule: “If the object(s) I want to remove take up less than 1/3 of the photo, then it can likely be stamped out fairly easily”.
Mark-Up Images
Click the above mark-up images to see examples of what you should avoid. Some things to note:
- The first image uses photos of the product pasted over the background to show product placement. This is not a very precise method and usually ends up leading to a phone call asking for clarification.
- The second image doesn’t provide enough information. It depicts where the center of cabinets and barriers/arms will sit, but does not depict the cabinets. Knowing where the cabinets are tells us how you want the installation aligned from left to right.
- The weight and color of the guides/lines in the third image makes them very hard to see. bright colors and thicker lines work much better.
- The fourth image attempts to draw a representation of the products instead of just placing lines across the floor. Not only does this method take longer to create, it’s also not very precise and usually ends up looking messy/confusing.
- If a client creates a type mark-up themselves, please do not simply forward it as the mark-up image for the render. It is unlikely to follow the criteria that we discussed in the “What You Should Do” section and will likely require further clarification.
Request Form
Please fill out the form below as best you can. Be sure to have as much information as possible before completing this form.